Film simulations are, without doubt, the sole reason I moved over to the Fuji ecosystem. The ability to create an endless variety of different looks, in-camera, without touching an editing application or making any colour tweaks is what I feel makes shooting with a Fuji such a fulfilling experience.
My current Fujifilm X-S10 makes provision for four different custom slots, where I can store tailor-made recipes with tweaks to various settings. This varies by Fuji model, but the ability to have four different in-built presets to call on at any time is something I’ve come to truly enjoy about my X-S10. Side note, I feel like having four custom slots is just the right number so that you don't become too indecisive when shooting. It is worth nothing that I shoot in RAW+JPEG, so I will always have a RAW copy should I wish to make detailed tweaks, but in most cases, I find the JPEG to suffice.
In my four slots, I've stored four different recipes, each with their own unique aesthetic qualities. In this video I'll explain each of these four recipes in under 4 minutes, show you some samples, and of course include the actual settings for the recipes themselves.
Recipe 1: Summer Provia
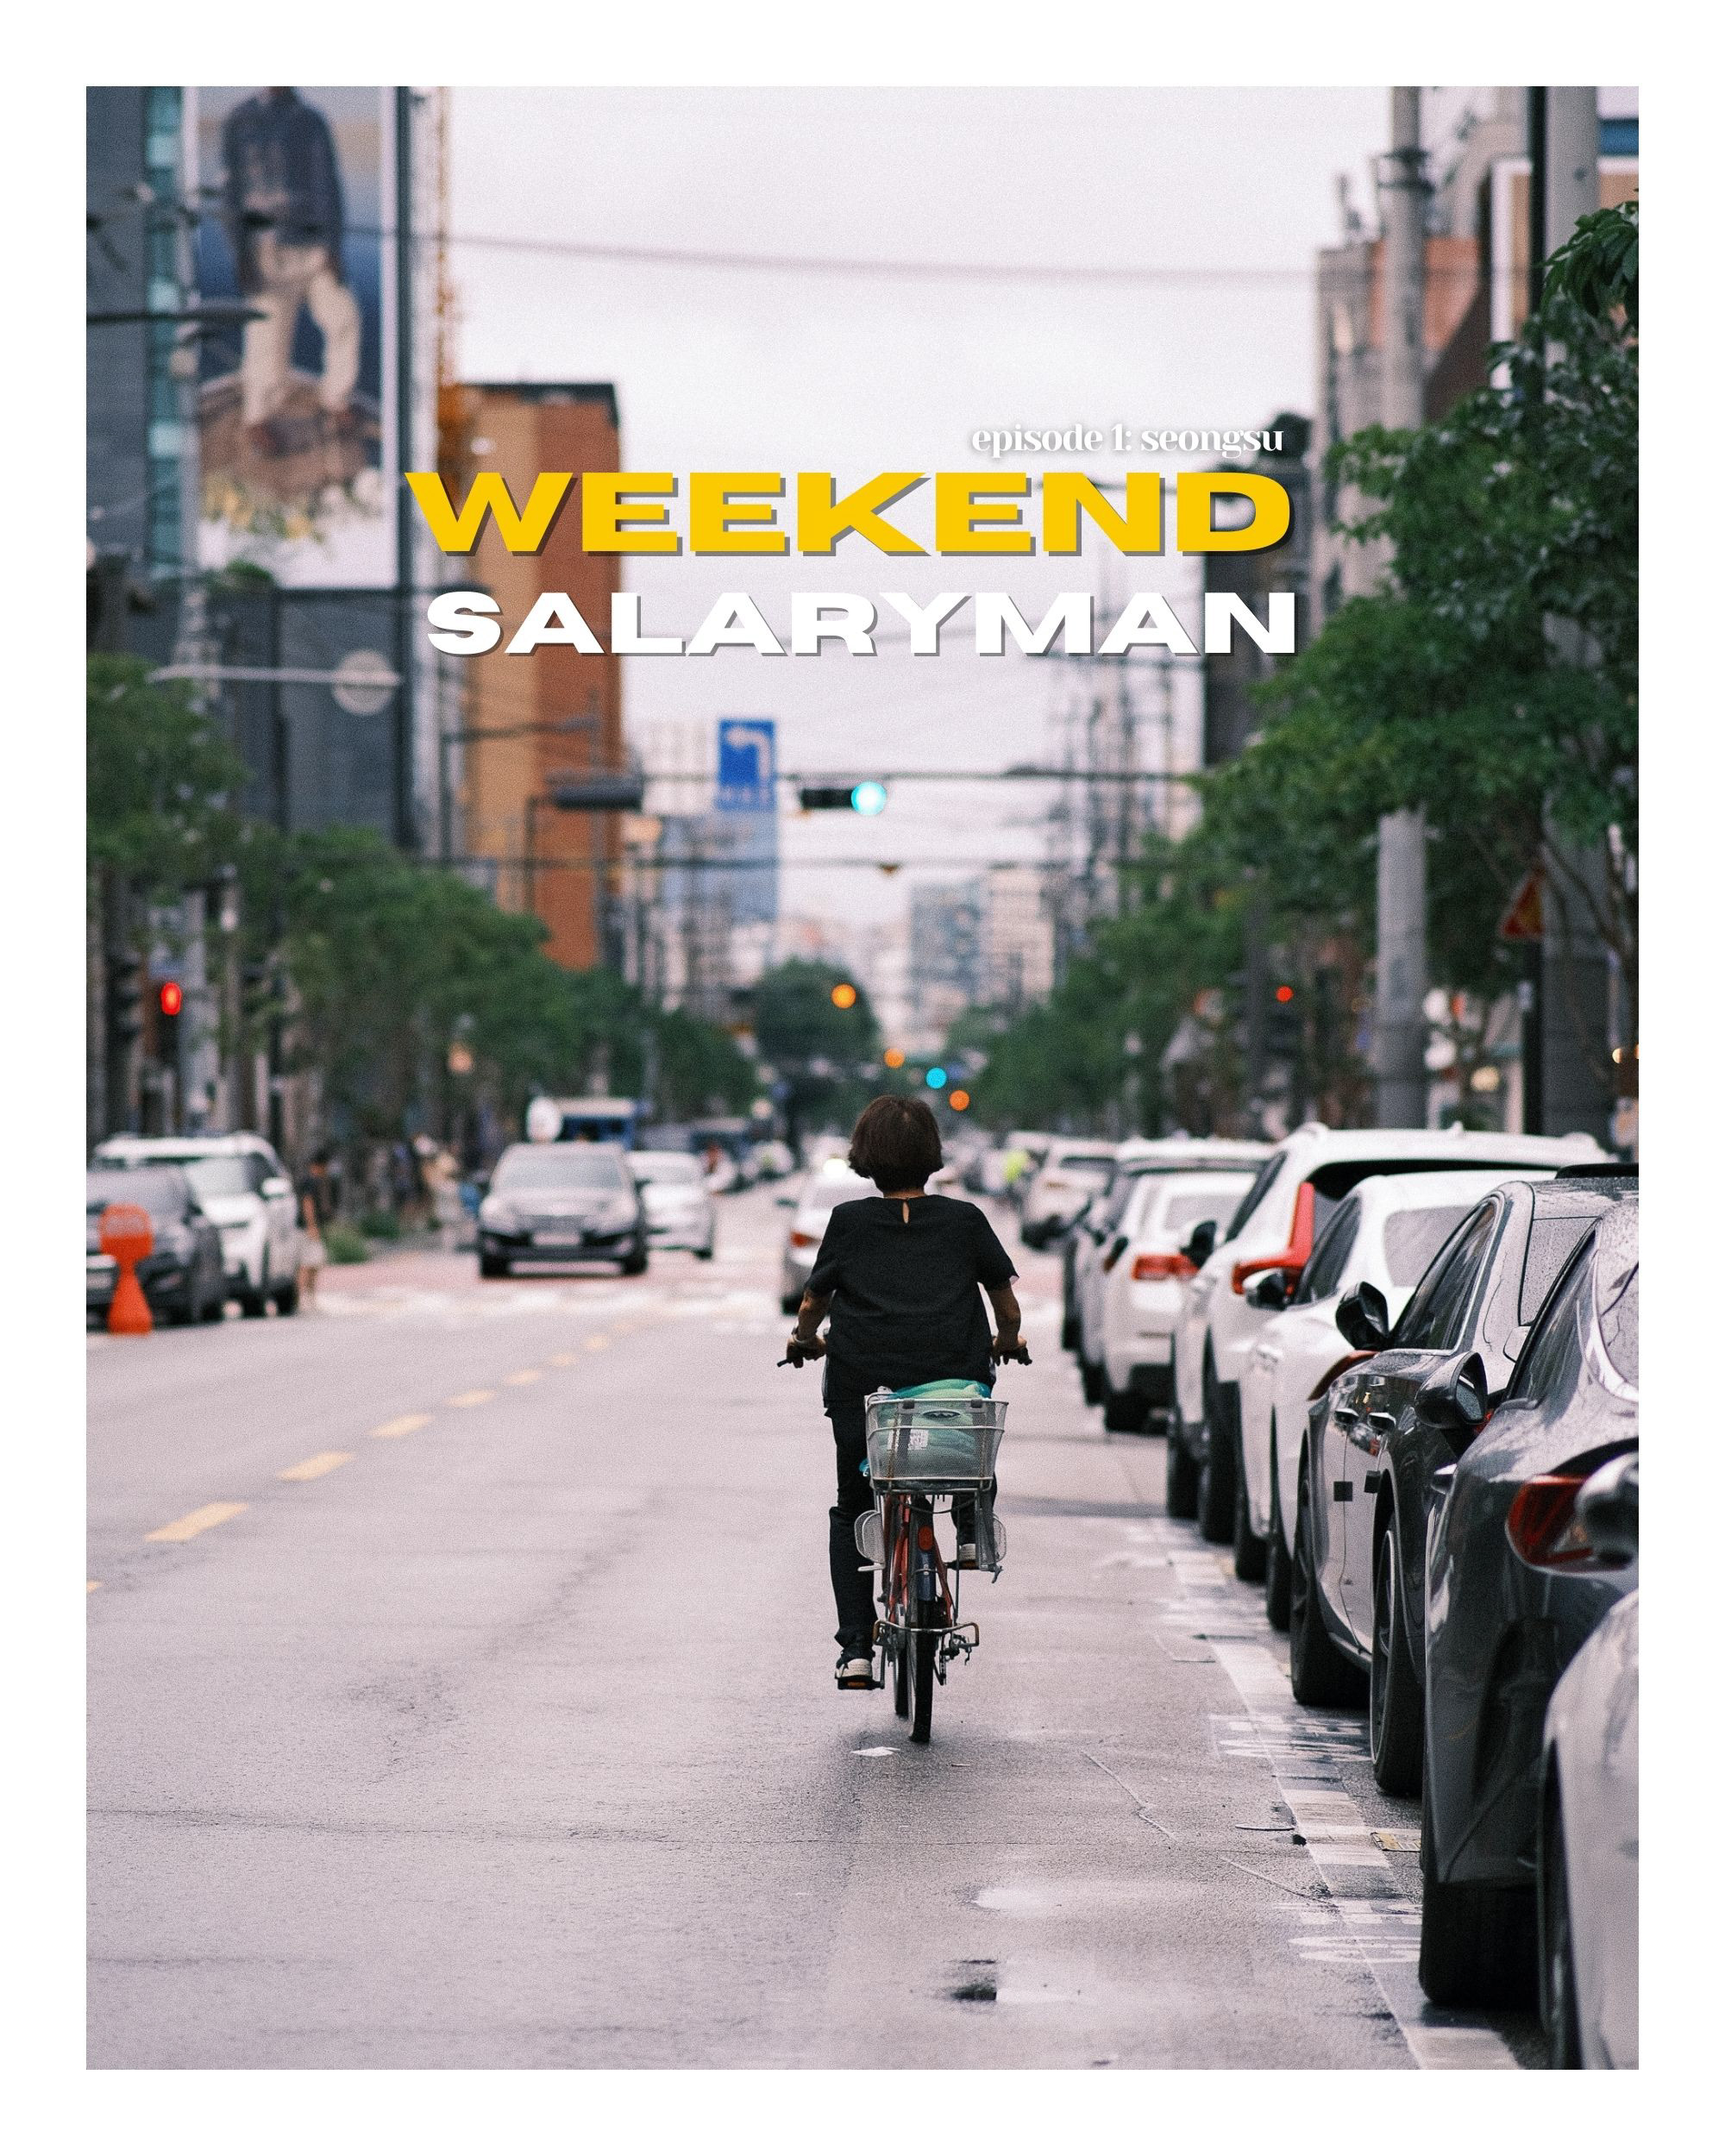
This is a custom recipe based on the Provia film sim. It is the recipe I use most of the time, especially for daytime shooting, for a few reasons. Firstly, I find that Provia renders quite pleasing blues, and I prefer cooler tones for bright, sunny days. It also doesn't quite crush the blacks like other film sims, and also retains a fair bit of saturation in the blues while not being super-saturated like Astia or Velvia. Overall, it's just a great middle-of-the-road film sim with enough character to retain that film-like quality. I usually crank the dynamic range up to DR400 for this recipe so that it retains details in the highlights, and generally shoot just under a full stop overexposed for that bright, airy feel that seems to be flavor of the month in photography circles.
It works beautifully for bright, daytime scenes where you want just a bit of pop without too much saturation, and I've found it works great to bring out blues, purples and pinks. Check out the recipe on screen or in the link below if you’d like to try it out for yourself.
It works beautifully for bright, daytime scenes where you want just a bit of pop without too much saturation, and I've found it works great to bring out blues, purples and pinks. Check out the recipe on screen or in the link below if you’d like to try it out for yourself.
Recipe 2: Kodak Gold 200
Full disclosure, this recipe is straight from the FujiX app. The FujiX app is such a great database of Fuji recipes for different Fuji sensors and sample images. I set up this recipe as I wanted something with a slightly warmer feel, especially for sunset conditions, to emulate its celluloid namesake. I'm also a big fan of the actual Kodak Gold 200 stock and have found it to be quite versatile in how it renders on 35mm, often running quite vibrant but not too saturated, which I really like. The base for this recipe is the Classic Chrome sim, which generally renders
One thing is for sure, and that is that this recipe does not disappoint during golden hour. It has become pretty the only recipe that I shoot during sunset (and occasionally during sunrise as well). There's a gorgeously surreal quality to images shot with this recipe that I simply haven't found with others. That signature Kodak Gold warmth is there,
That's about where it ends though, as this recipe simply doesn't work in other situations. Because the colour balance runs so warm, shooting this in anything other than fading sunlight doesn't produce great results. That said, I plan on shooting this for a while still and look forward to capturing many more golden hours with this digital version of the famous Kodak Gold film stock.
Recipe 3: Pastel Vibes
Ah, the renowned Pastel Vibes. Made famous by Willow Rotter and initially spotted in the Fujifilm Simulations group on Facebook, this was one of the first recipes I set up on my X-S10. I recall from his sample images that it worked particularly with deep blues (and does tend to run quite cool), which immediately drew me to it. While this is not my first choice for versatility, I will say that it comes a close second to my custom Bright Summer Provia recipe.
I've found that this runs a little less saturated than my Bright Summer recipe, mainly because the base film sim is Classic Negative. I've also made some slight tweaks in terms of colour balance and grain. I prefer my daytime images to have a bit of colour pop, so while I shy away from using this during bright scenes, I have used it for early morning softly lit scenes.
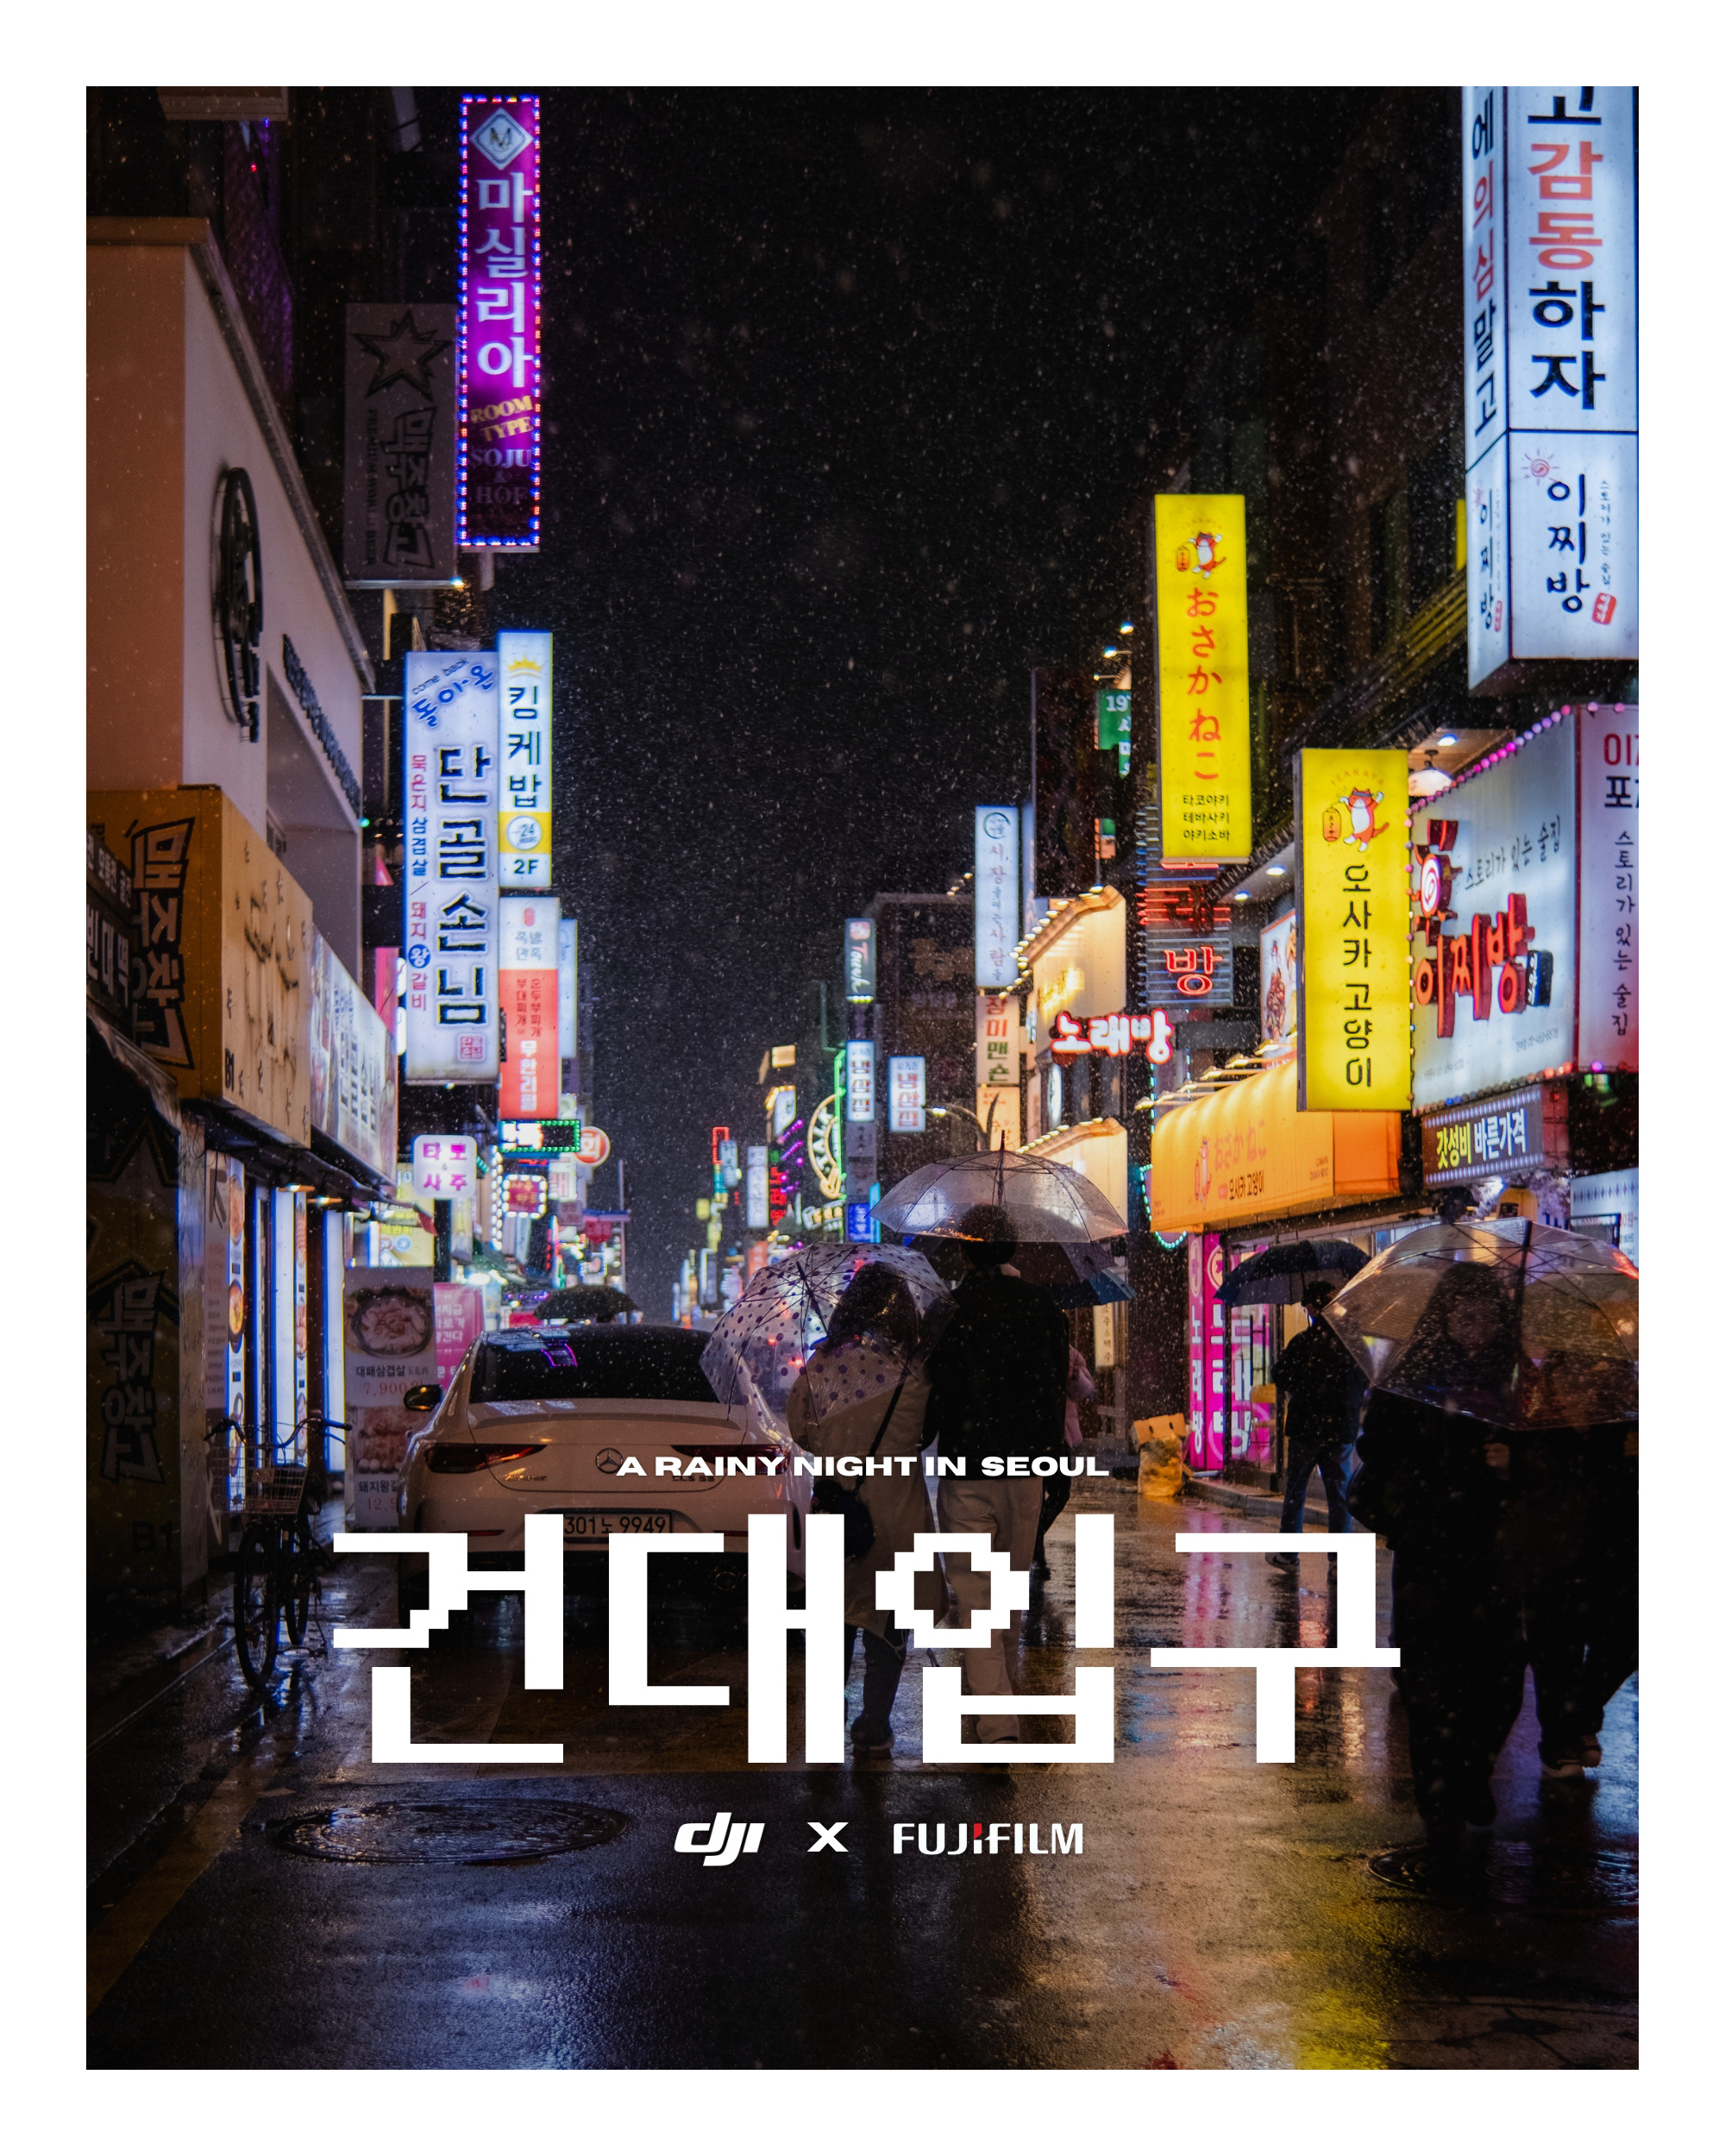
Interestingly enough, I've found that this recipe also works really well at night for city shooting (particularly with a mist filter, which I use religiously). Lowering the EV comp to just under a stop exposed creates very atmospheric images. Overall, this recipe is well worth checking out if you're first venturing into the world of Fujifilm recipes.
Recipe 4: Daily Greens
I was actually on holiday when I first tried this recipe, and what a god-send it was. At the time, I hadn't given much thought to using Astia as base for a recipe, as I wasn't convinced about how over-saturated it looked. Then, doing some searching, I found a recipe from the Fujiflim community by a user who goes by Timo Kuerten. Full props to them, as I was immediately taken by this recipe the moment I'd finished setting it up. While the Astia base does give this a more saturated look, it's not overdone – at least it doesn't look like someone's cranked up the saturation slider.
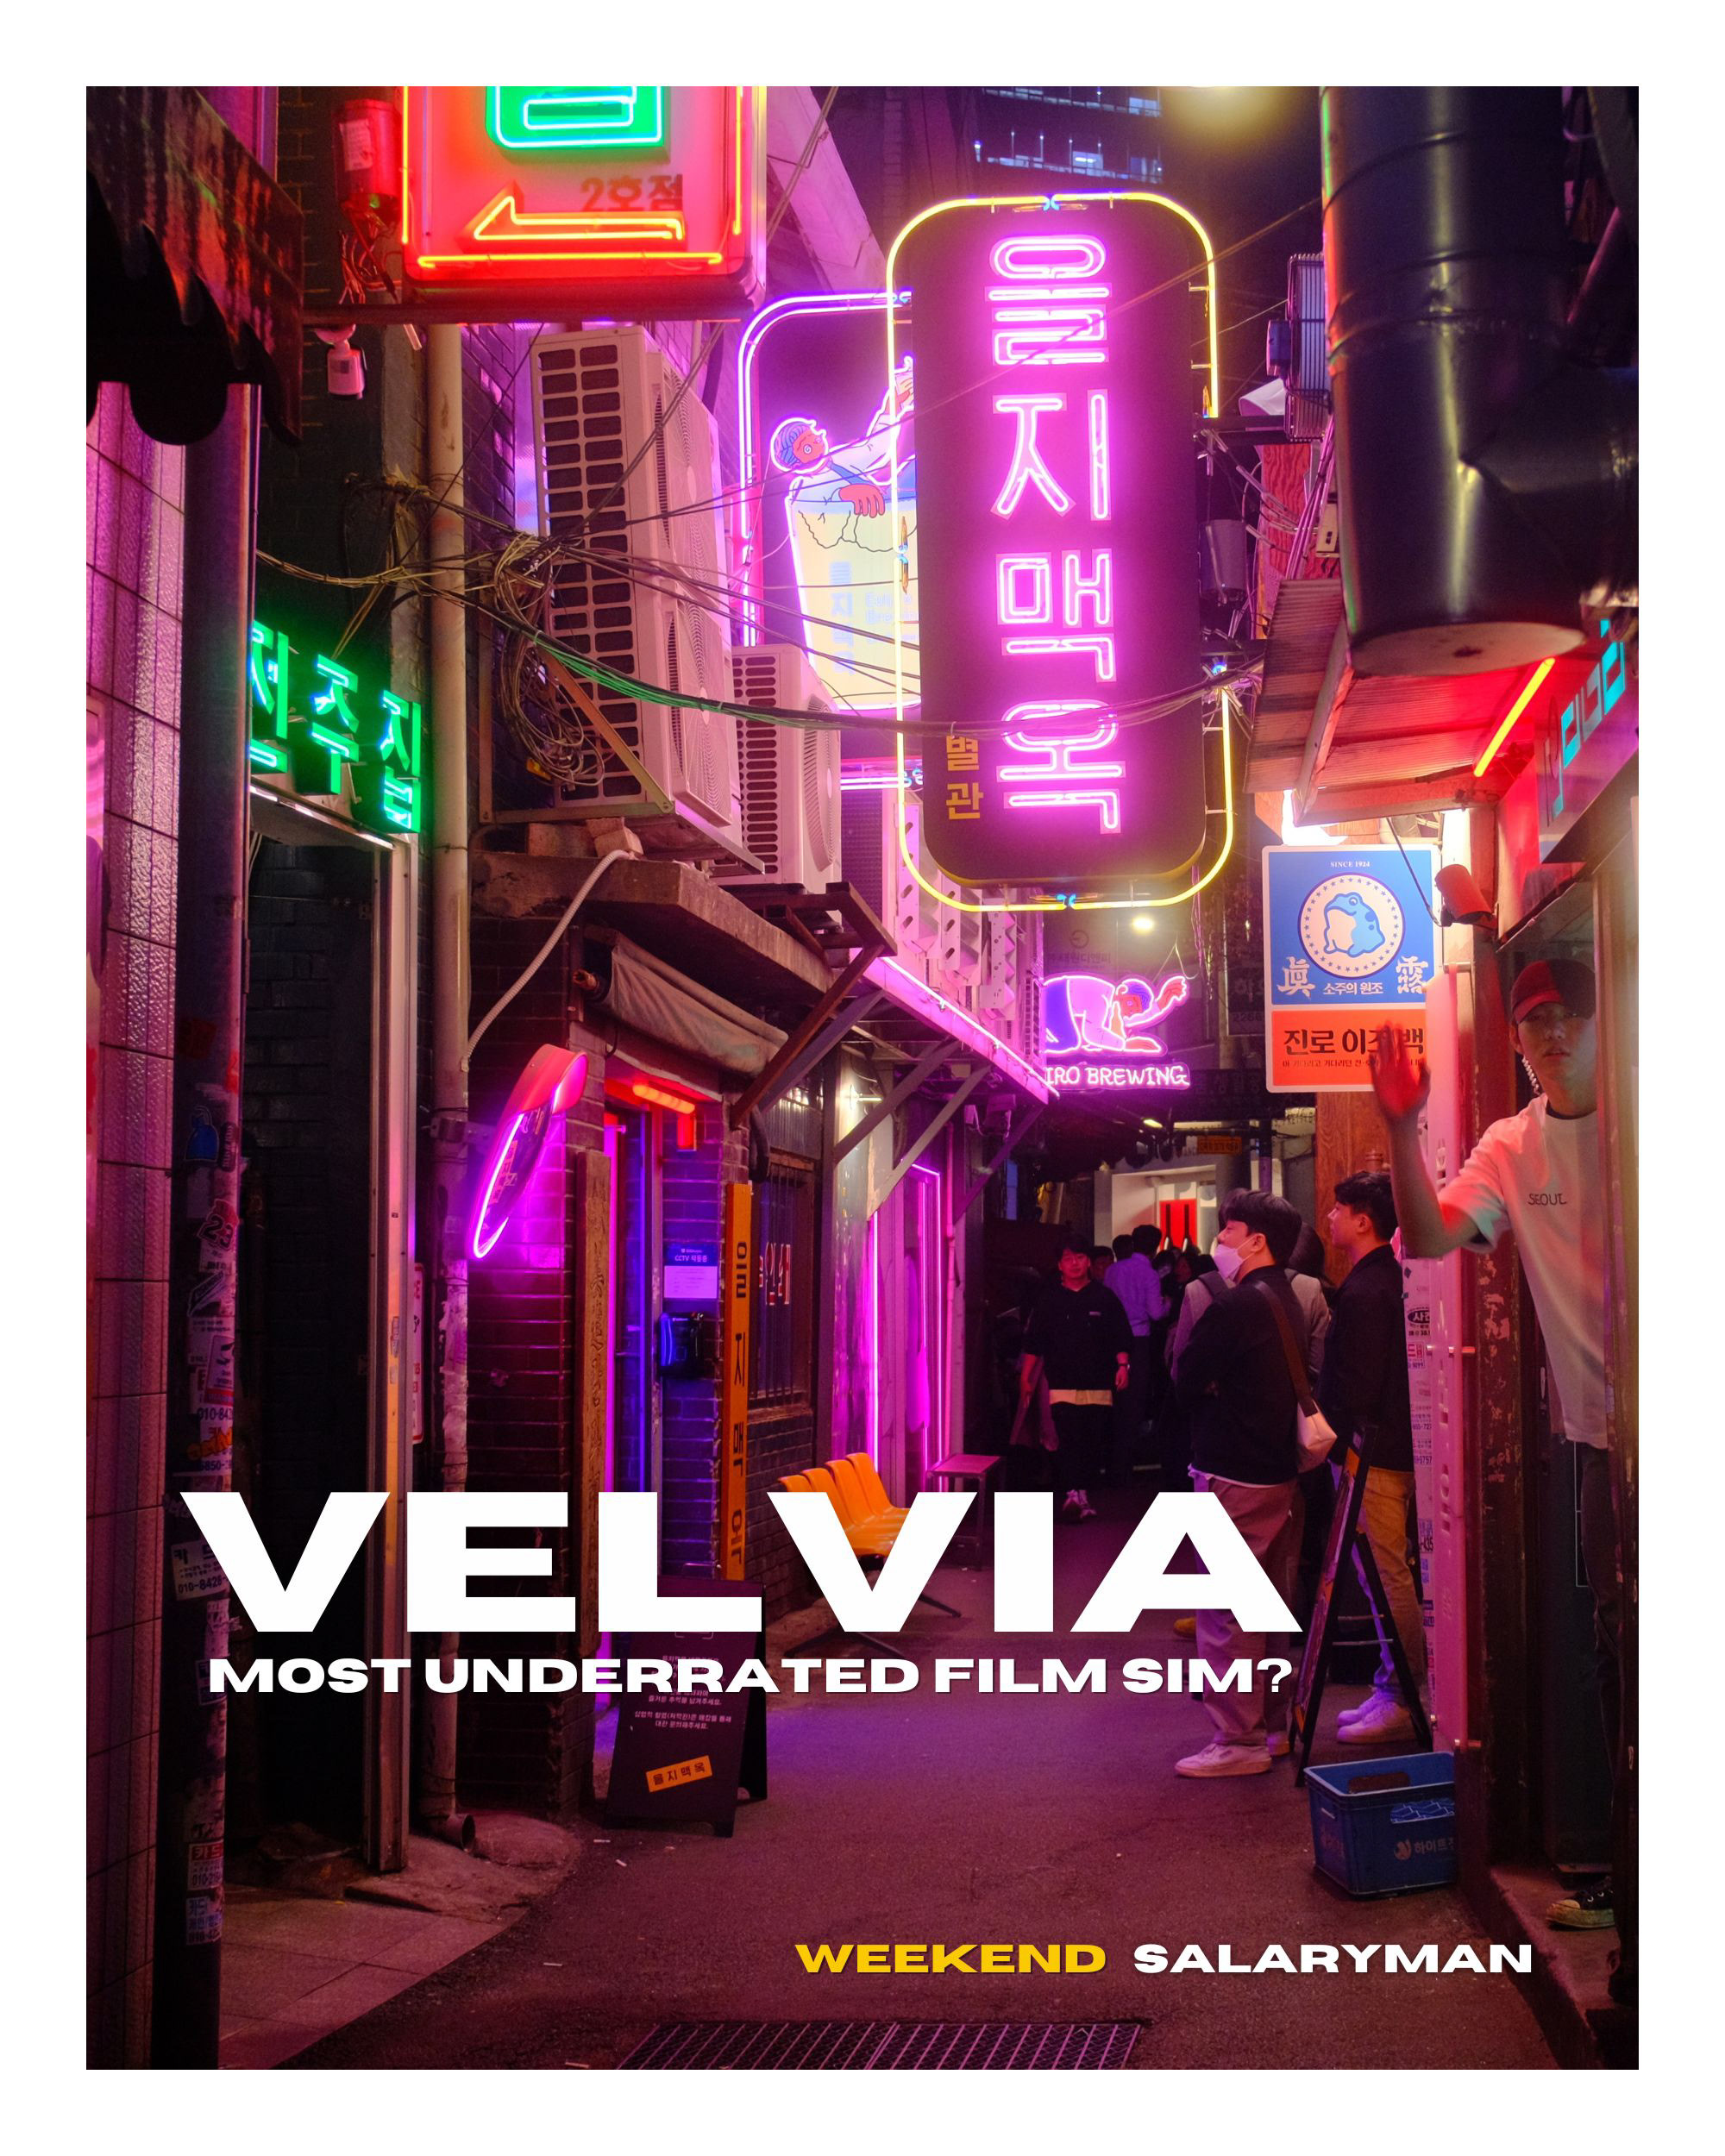
Instead, it's a more subtle type of saturation; blues are very well-controlled, especially in the highlights on sunny days, and greens––thanks to the Astia base––have a distinct pop that very few other recipes can boast. This makes this recipe my go-to for shooting greenery and landscapes. The way this recipes renders these colours can lift even the dreariest landscape, without making it look comical. While I feel like the bulk of recipes out there tend to shy away from using film sims like Velvia and Astia, this recipe does it just right. I would gladly keep using this as a travel-only recipe, or for occasions where I need some vibrance.
Instead, it's a more subtle type of saturation; blues are very well-controlled, especially in the highlights on sunny days, and greens––thanks to the Astia base––have a distinct pop that very few other recipes can boast. This makes this recipe my go-to for shooting greenery and landscapes. The way this recipes renders these colours can lift even the dreariest landscape, without making it look comical. While I feel like the bulk of recipes out there tend to shy away from using film sims like Velvia and Astia, this recipe does it just right. I would gladly keep using this as a travel-only recipe, or for occasions where I need some vibrance.

