On any given trip I shoot upwards of 200 images a day.
Of course, only a handful ever get published, but that’s one of the vagaries of digital photography (and a weakness which I am actively working on – better curating my shots as they arise).
I’ve been using Lightroom to manage my catalogue of photos since around the end of 2017. I’ve only recently started experimenting with Luminar Flex; a rival product which seems to work well for one-off edits, but for the most part LR is where my entire library of 3.5 years worth of photos is housed.
This article is not about Lightroom’s editing capabilities – that’s a discussion for another post (especially considering the alternatives that are out there at the moment). What I want to talk about is using Lightroom for effective catalogue management and my workflow for archiving my images.
Johnny Harris talks about the best way to remember your life through photos. He’s a huge advocate for deleting at will and culling ruthlessly. Make no mistake, I think this is a super technique but for these purposes I don’t find culling to be super useful, especially when I’m not using cloud storage to store images and disk space is relatively cheap. Instead, this is about curation (which I guess is culling in a sense) and using Lightroom as a management tool.
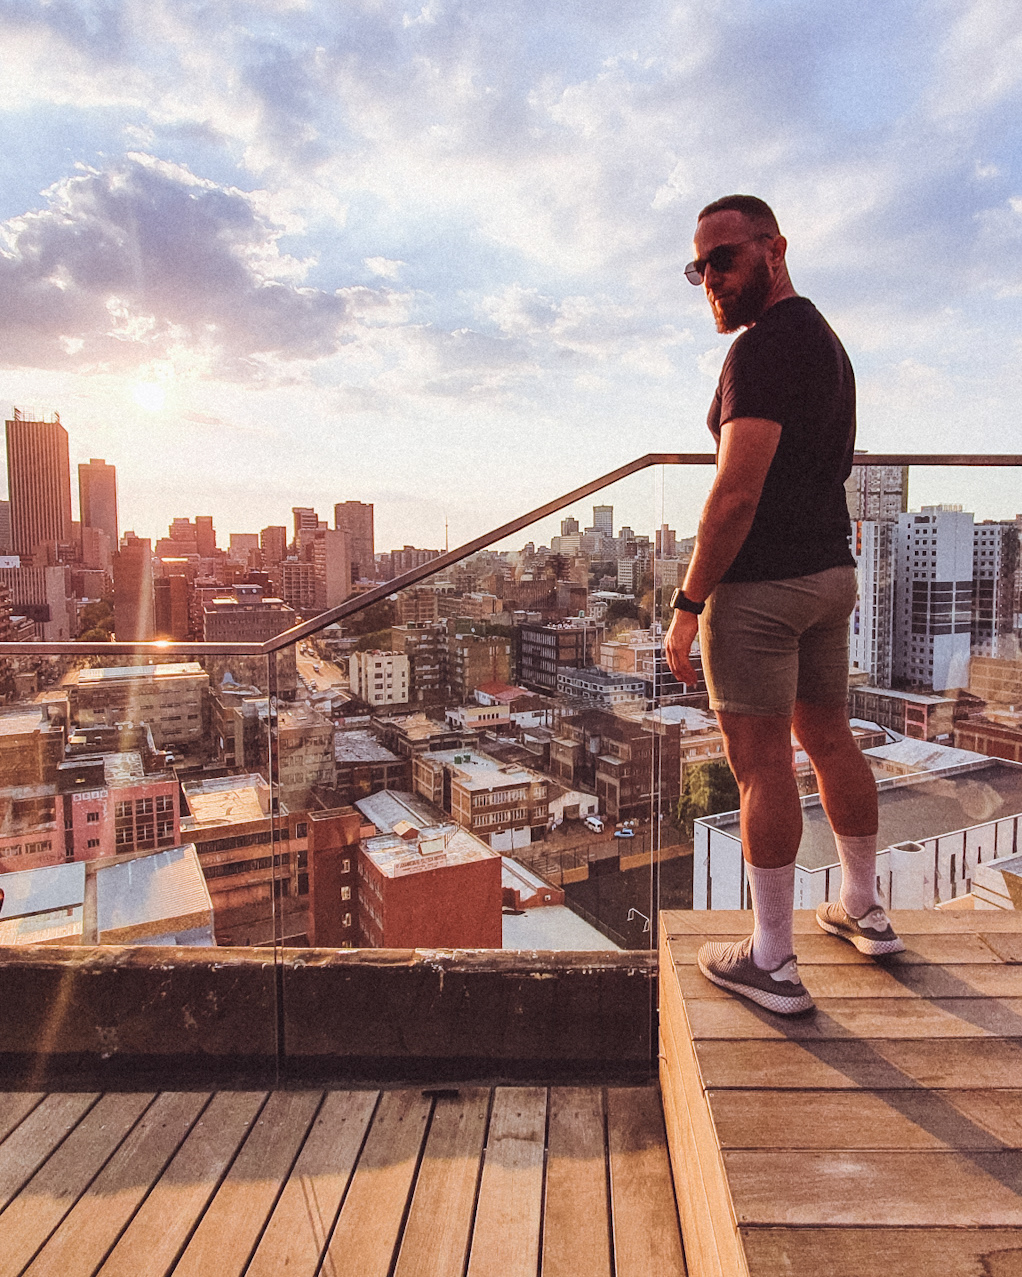
On my last trip, I shot somewhere in the region of 2700 images over 13 days. A prolific amount, sure, but the fun doesn’t stop there. The curation process only starts once I’m back at my laptop, and so in this post I want to share some of my secrets for managing an Adobe Lightroom library as a travel photographer.
1. The data dump process
As soon as I get back to my desk, it’s time for a big, fat dump. A data dump, that is.
Because I set my camera to record both a JPEG and a RAW copy of my files I end up keeping both files types in their own separate folders. So my taxonomy will usually look something like “MONTH > DESTINATION > RAW JPEG / RAW ARW”.
I never edit JPEG files but keep them purely for posterity, as they are smaller than the RAW files and don’t take up as much space.
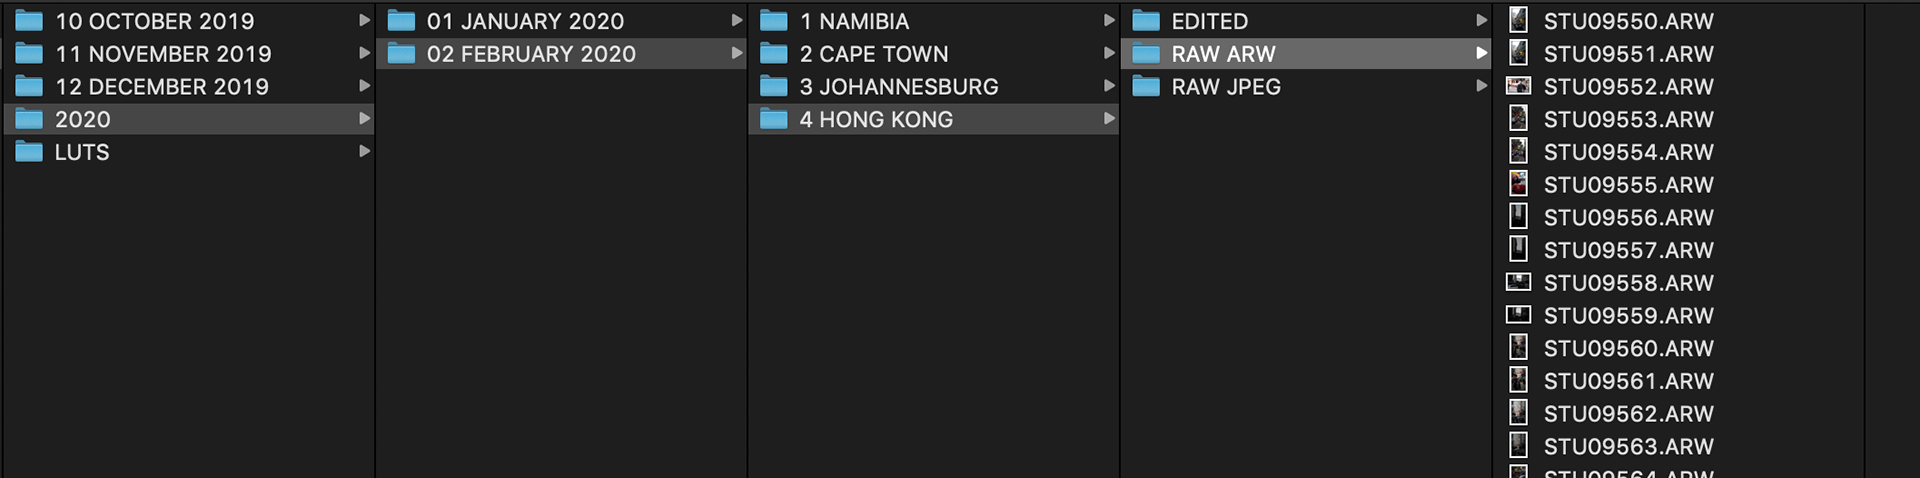
Once I’ve transferred all the files from my memory card to my SSD, I only import the RAW files into Lightroom. The reason for this is that the RAW files contain much more data which I can tweak to my personal taste, whereas the JPEGs already have certain settings baked into them which renders them useless for certain edits.
2. Sorting and using the Adobe Lightroom rating systems
So, with all these hundreds of images now in my Lightroom library, how do I go about sorting them all?
Fortunately LR has a pretty handy set of ratings tools which you can use to sort the wheat from the chaff. I tend to do my curation in various layers; usually a first “catch-all” of images that I know I want to put on my website and/or Instagram and then a second layer where I might drill down on a specific selection of shots for my IG.
This first layer of curation is done using the star rating system in Lightroom. LR allows you to rate your images from 1 to 5 stars. As a first step, I’ll start by rating the images which I like with 1 star. This first step is usually the most time-consuming as I’m assessing each and every image, seeing whether they would fit into my content feed (be it IG, Twitter, or for a YouTube video).
You can quickly and easily access the rating system on your keyboard using numbers 1-5. Pressing ‘0’ will remove any star rating from your image.
The second part of the rating system is the colour labelling. With this tool, Lightroom allows you to choose from four different colours (Red, Green, Blue, and Yellow). This is generally handy if I want to curate images for a specific reason e.g. if I’ve done client work which forms part of this image batch, or I want to segment specific images for a YouTube video.
Because these tools work together, you can easily cross-filter by both colour and rating, which makes this a very powerful tool for filtering and sorting.
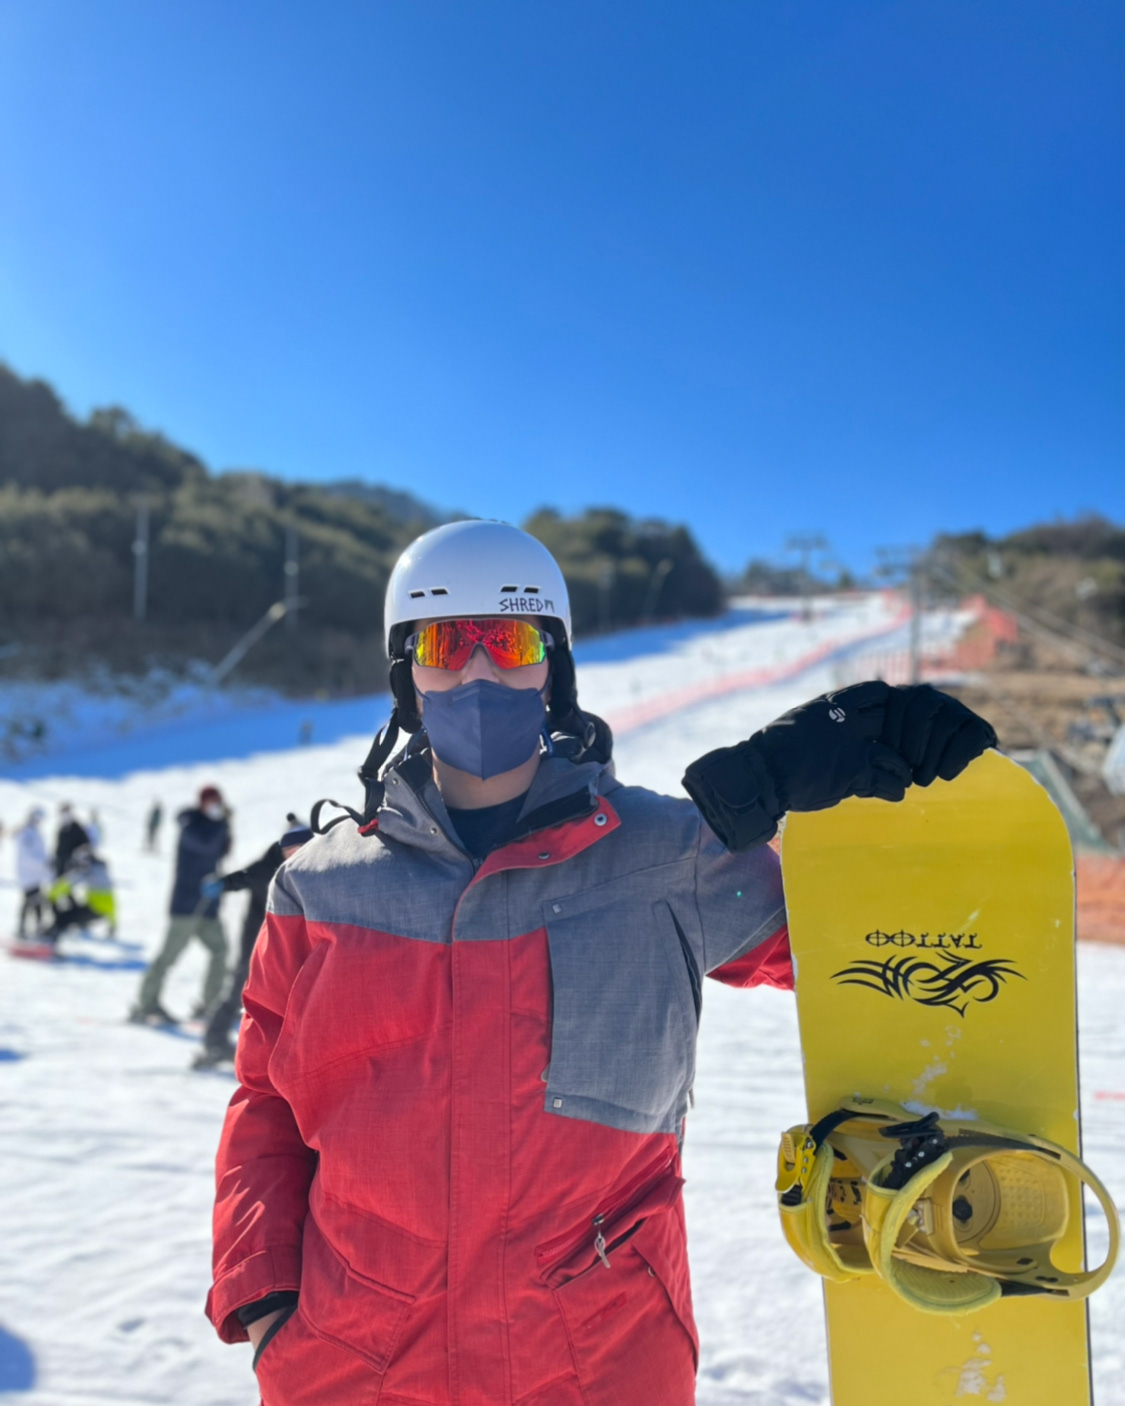
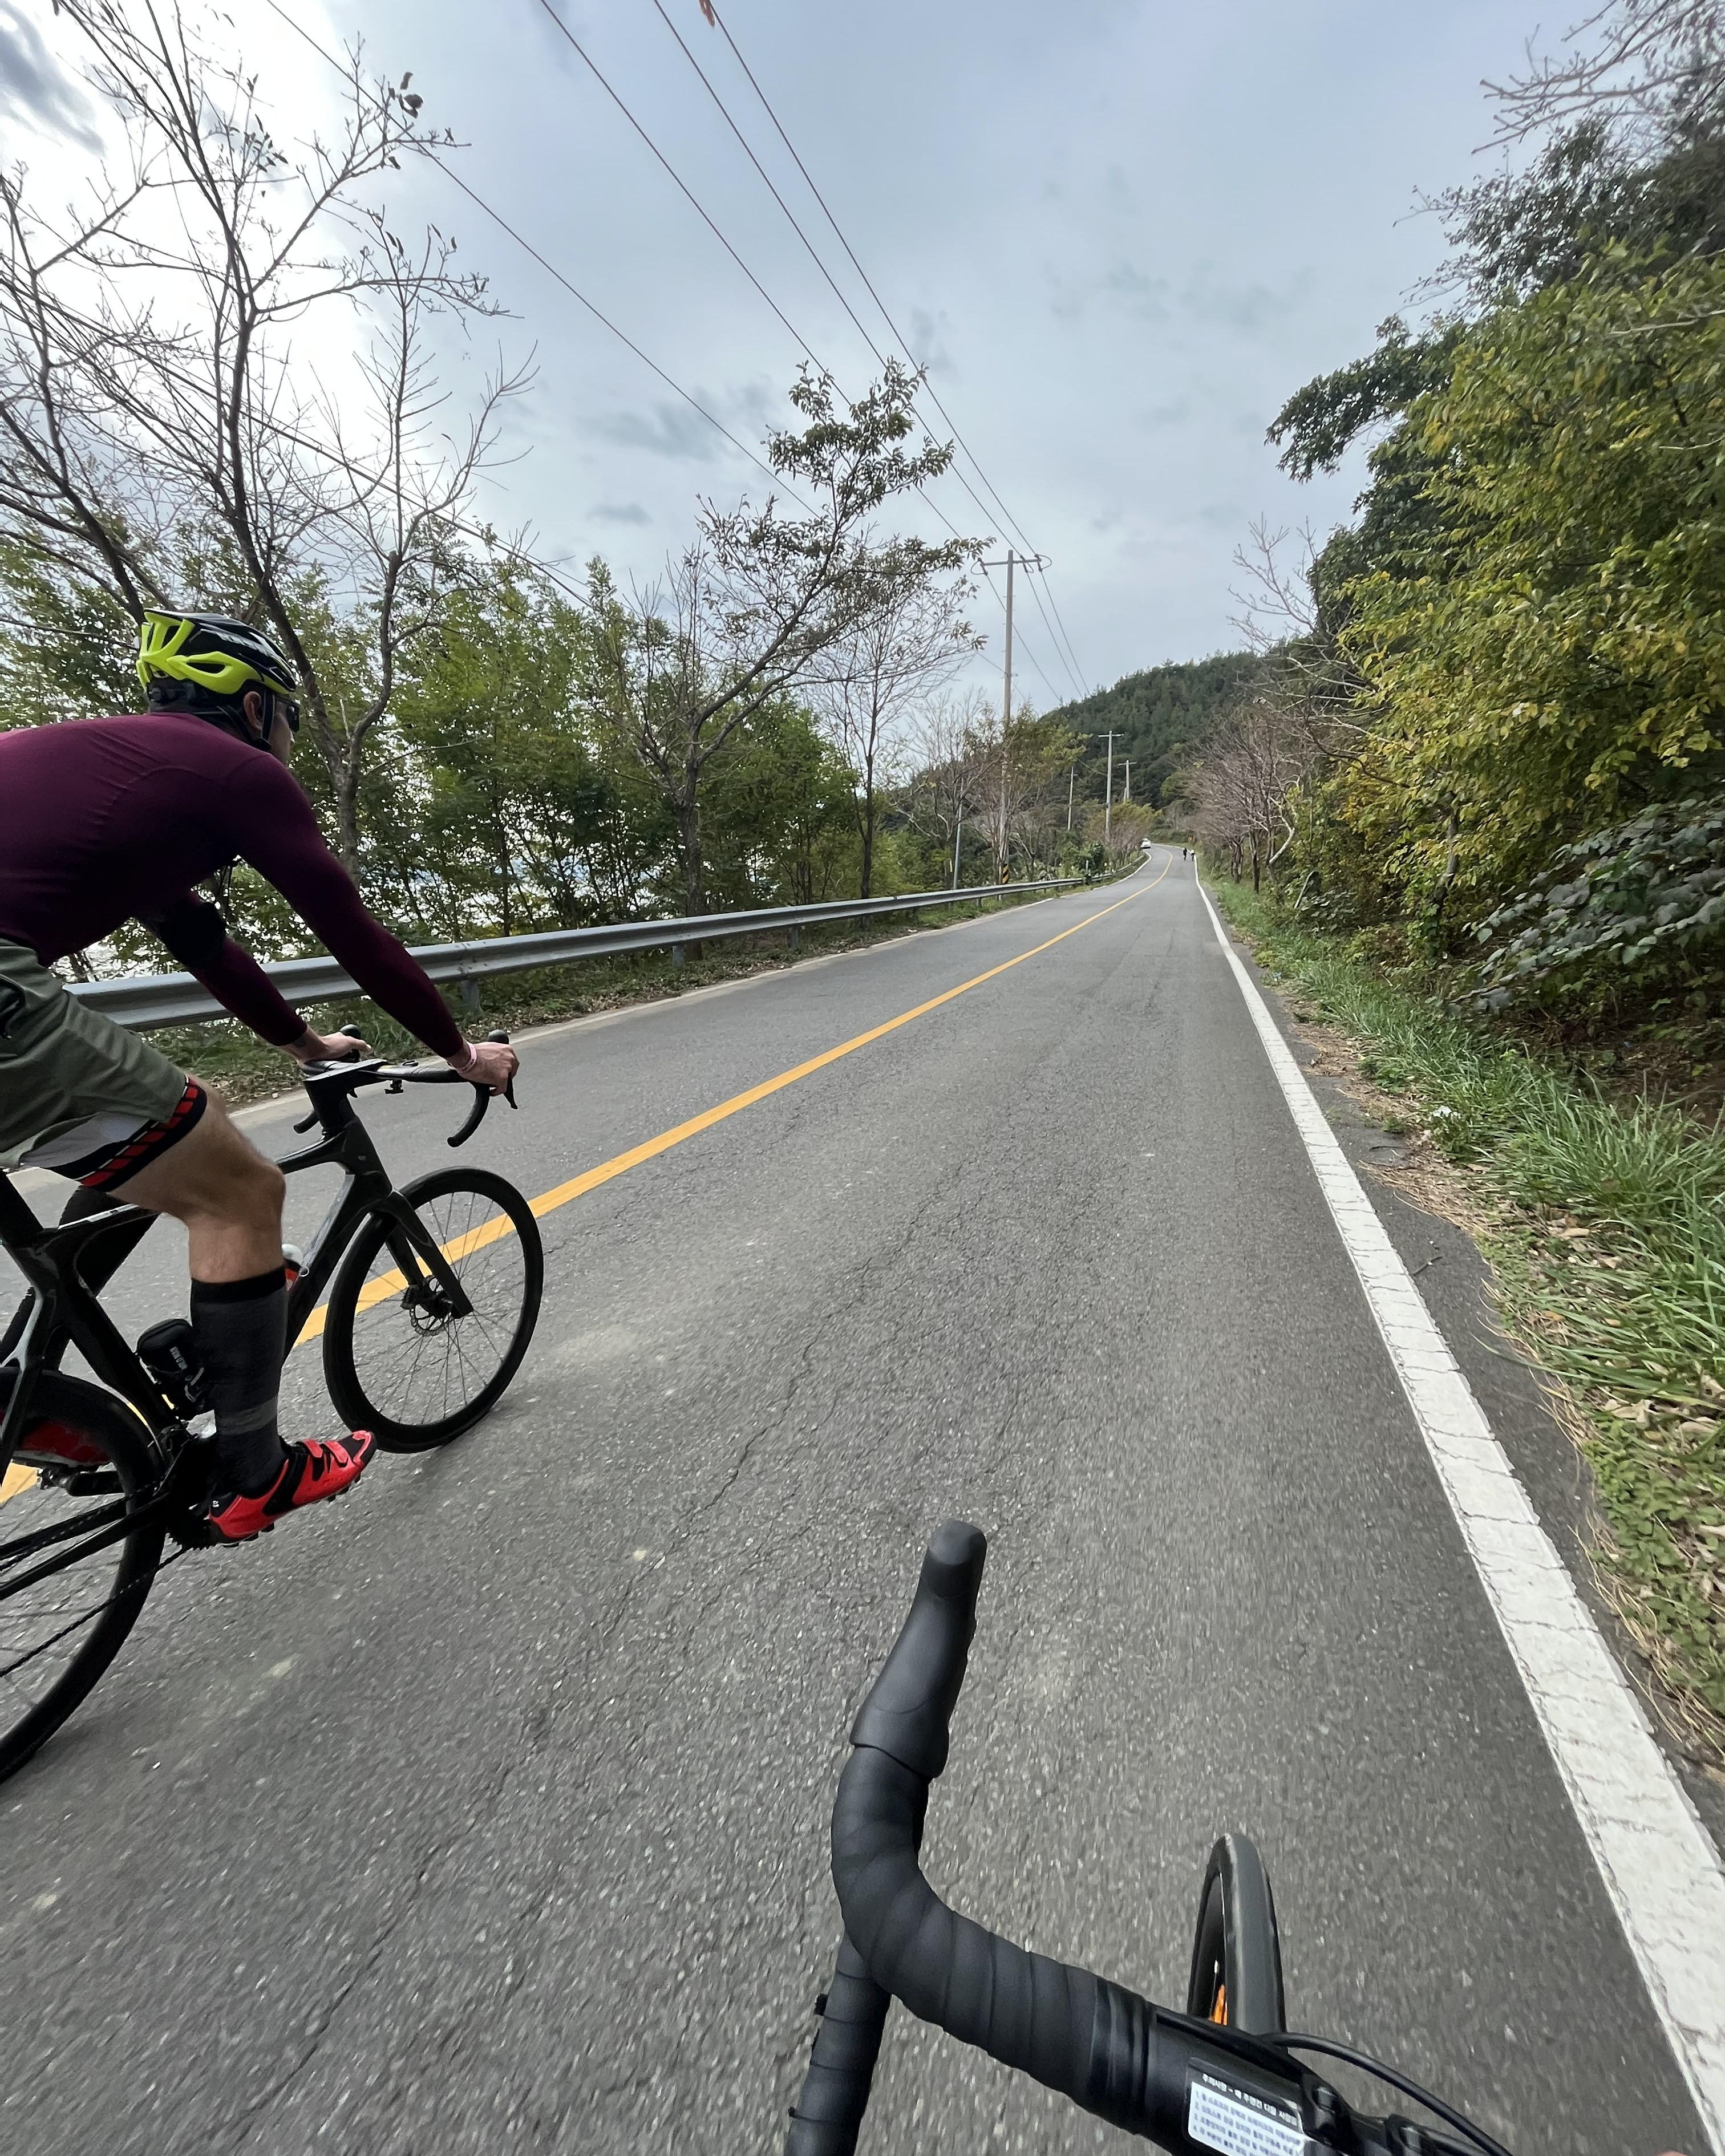
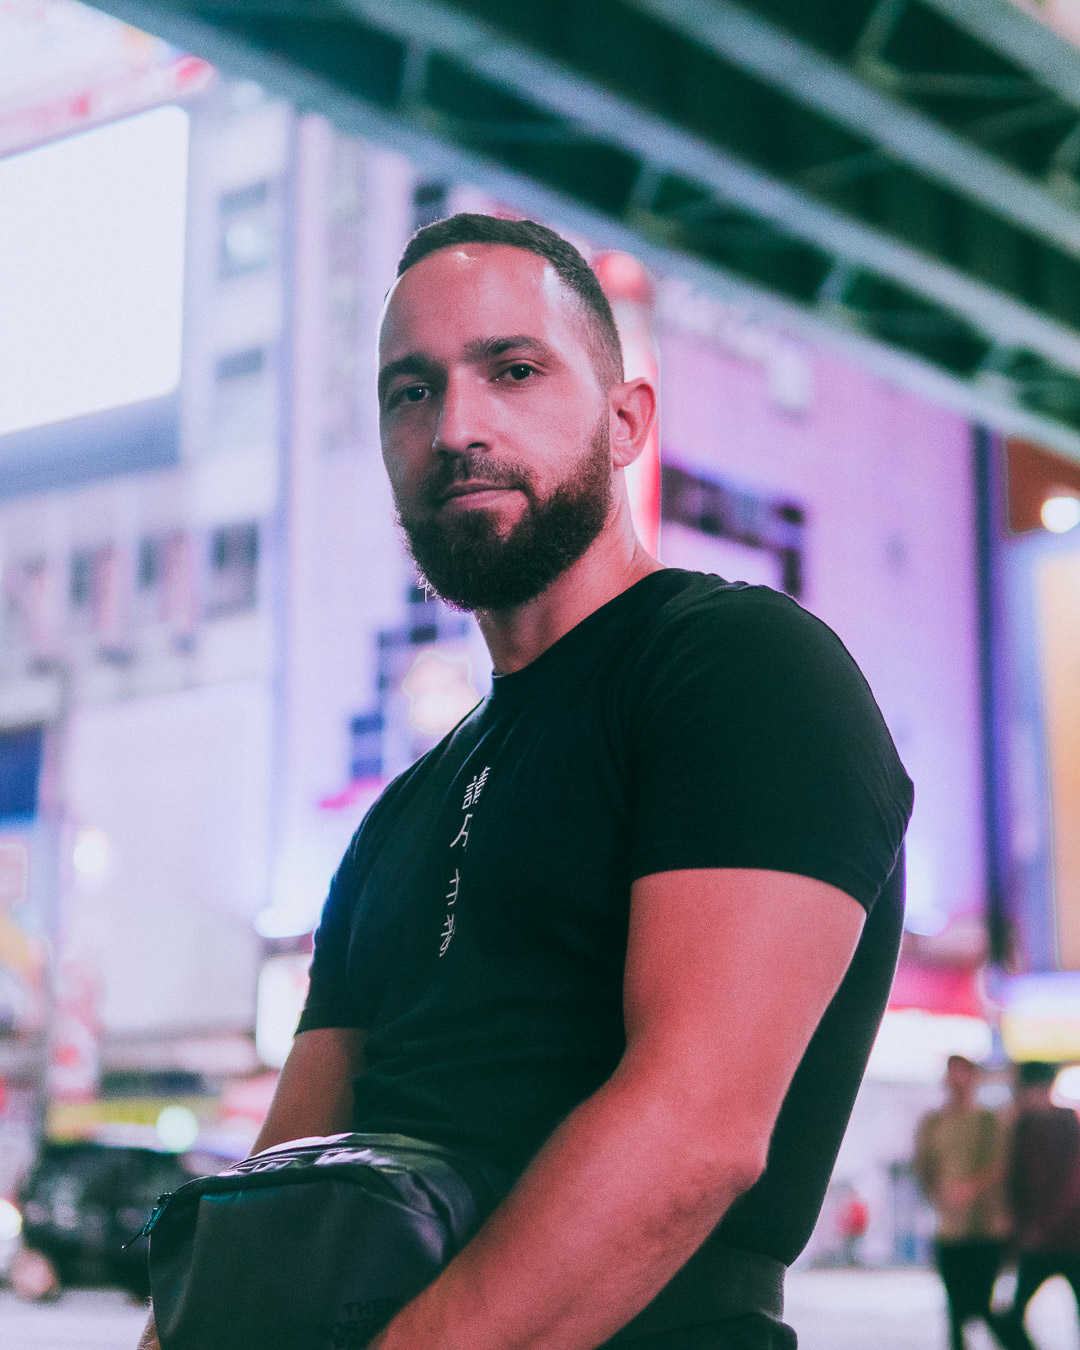
To give you an example; my daytime edits are very different from my nighttime edits, and so while my first layer of curation is done using star ratings, separating the daytime shots from the nighttime ones is done with the colour labels. I’ll label daytime shots with a yellow tag and nighttime shots with a blue tag. This then allows me to focus on editing a specific batch of images in a certain style.
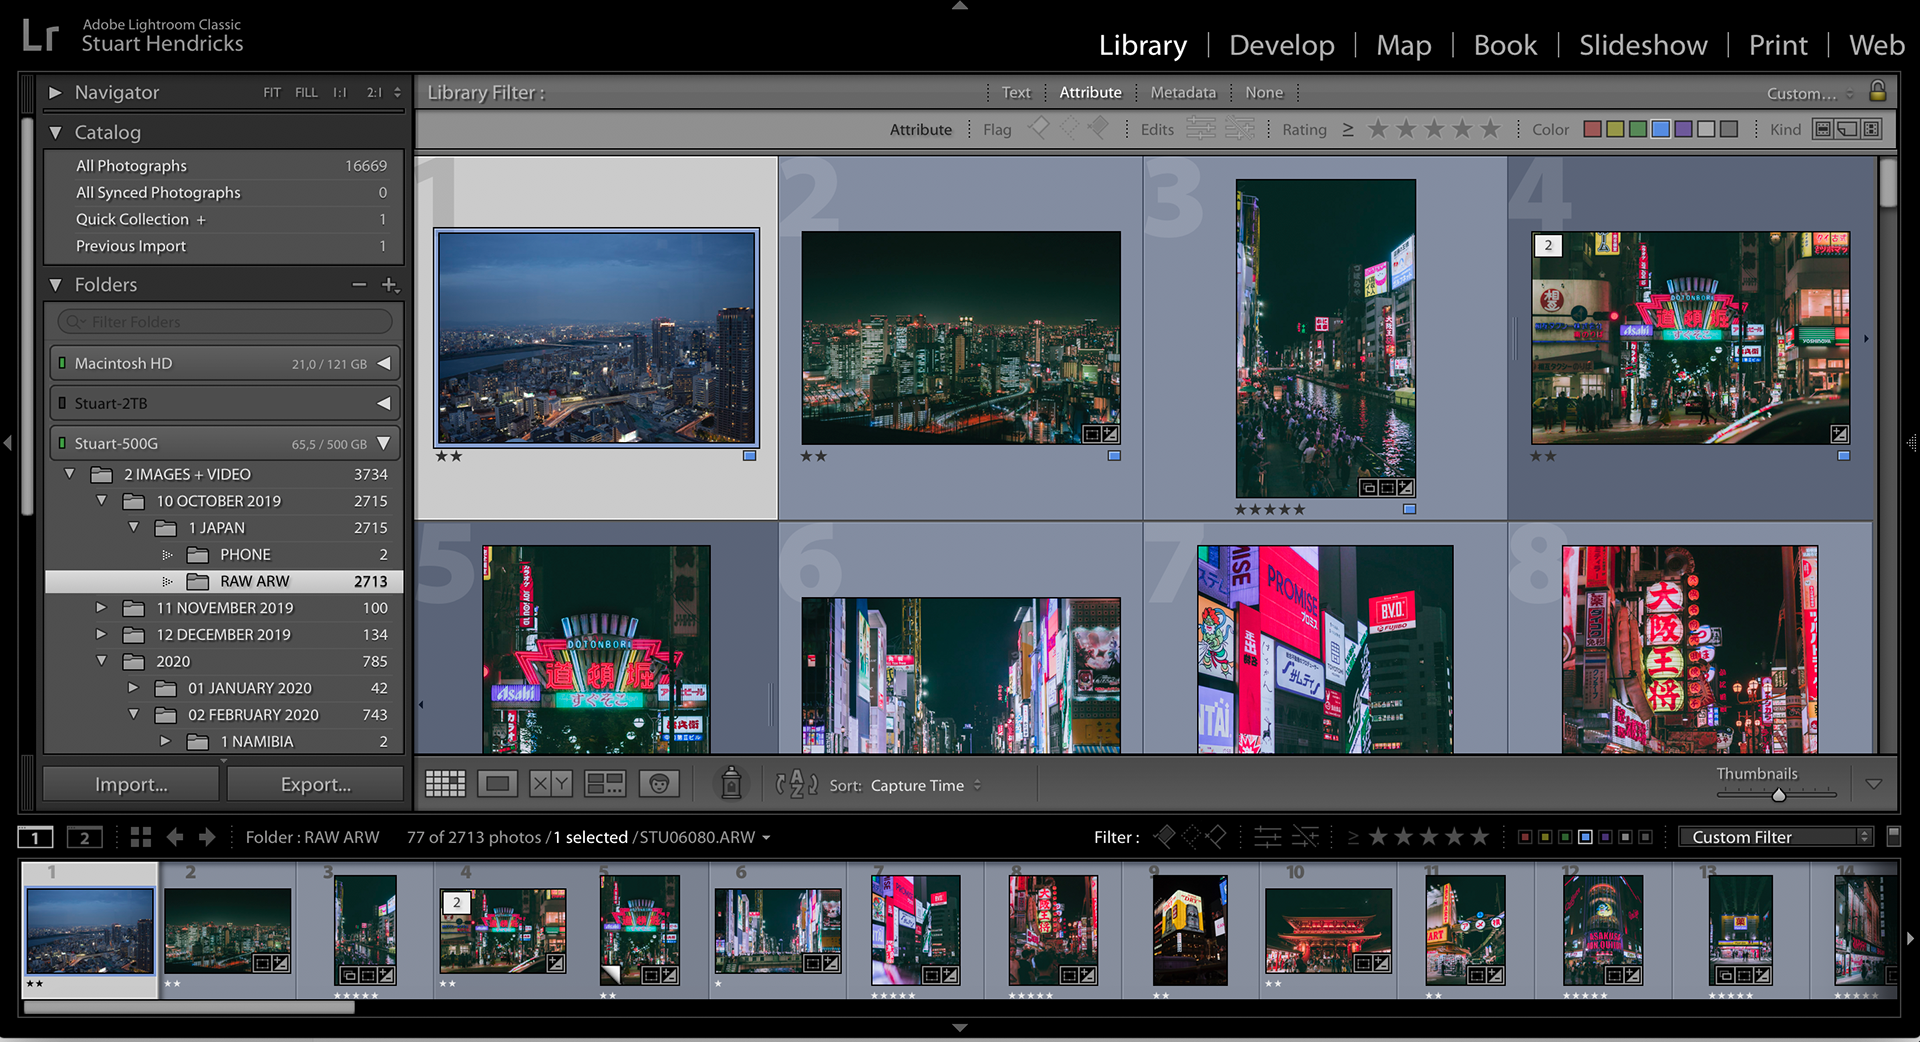
An example of how I would use a star system and colour system to sort for night-time images. I could further drill down by selecting images with these criteria shot on specific days or in a certain aspect ratio.
3. Sorting by additional metadata criteria
The rating and colour label systems are a great start for curating your travel photography image library, but what if you’re looking for a specific image from a specific day, shot on a specific lens in landscape orientation? Fortunately the Lightroom Library Filter allows you to drill down on various image metadata. You can filter by the following fields:
I use the Metadata section of the Lightroom Library Filter for a few things, namely:
Finding images which would work well as website headers and wallpapers (Aspect Ratio)
Finding images for my YouTube videos (Date)
Finding images with a specific focal length (Lens)
Finding images for my YouTube videos (Date)
Finding images with a specific focal length (Lens)
My camera doesn’t have GPS but if yours does have some sort of location service built in, then you can add that as a column in this module, too. Essentially any piece of metadata that is baked into your image’s EXIF file is available as a filter here. And that is super useful.
Why should you document your travels?
As a traveller, I’m more interested in recounting a few breathtaking moments than remembering the mundane. In fact, I would say the mundane is easier to remember because it feels so ‘normal.’ It’s those breathtaking moments that most find hard to distill into an image and that’s one of the reasons why I love photography so much.
The end result is a small set of photos of which I will usually vividly recall how I was feeling, the weather, the surroundings, the light… And those will go on my website. Even though I spend hours shooting thousands of images I’m not bothered by the trivial moments. But, much like Johnny Harris mentions, it’s that one defining image which will usually trigger a set of subsequent memories and the stories around that event.
If you enjoyed this article, sign up for monthly updates as I post travelogues about my trips throughout East and South East Asia, along with videos around street and travel photography.